Hey there, fellow lighting enthusiasts! As a supplier of top - notch LED moving head lights, I've seen firsthand the excitement and sometimes the confusion that comes with setting up these amazing lighting fixtures. Today, I'm going to walk you through the process of connecting LED moving head lights to a lighting console.
First off, let's talk about why you'd want to connect your LED moving head lights to a console. A lighting console gives you full control over your lights. You can adjust the color, intensity, movement, and even create complex lighting shows. It's like having a magic wand for your stage or event space.

Step 1: Gather Your Equipment
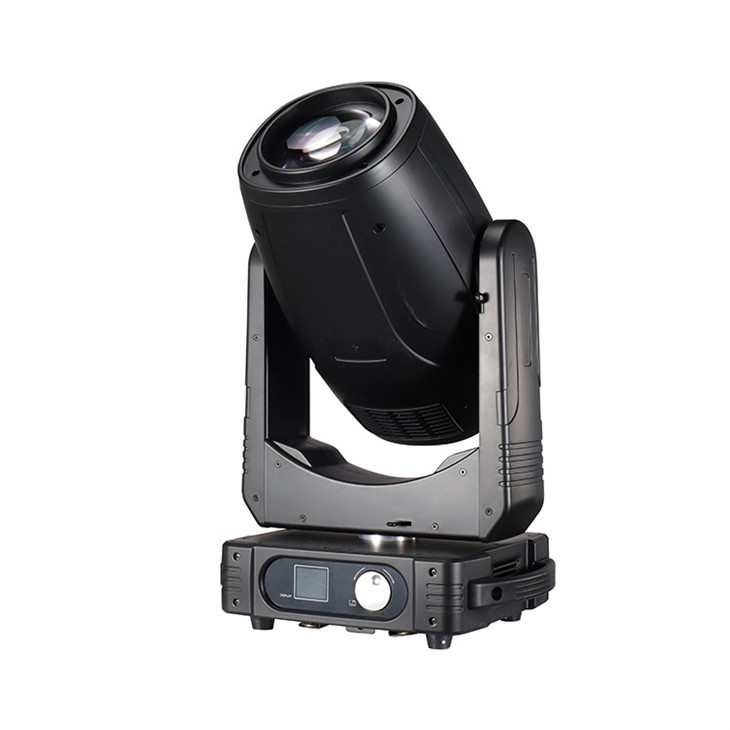
Before you start connecting anything, make sure you have all the necessary equipment. You'll need your LED moving head lights, of course. We offer a wide range of options, like the LED Beam Spot Wash, LED Hybrid Moving Head Light, and 350w LED Moving Head Light 3 In1 With Cmy Function. Each of these has its own unique features, but they all work great when connected to a console.
You'll also need a lighting console. There are different types available, from simple entry - level ones to high - end professional consoles. Make sure your console is compatible with your LED moving head lights. Most modern consoles support a variety of lighting fixtures, but it's always a good idea to double - check.
In addition to the lights and the console, you'll need some cables. The most common type of cable used for connecting lighting fixtures to a console is the DMX cable. DMX (Digital Multiplex) is a standard protocol for controlling lighting equipment. Make sure you have enough cables to connect all your lights to the console.
Step 2: Power Up Your Lights
Before you start connecting the DMX cables, you need to power up your LED moving head lights. Plug each light into a power source. Make sure the power source is stable and can handle the total power consumption of all your lights. It's a good idea to use a power strip or a distribution box to manage the power supply.
Once your lights are powered on, give them a few minutes to warm up. Some lights may need to initialize their internal systems, and you'll see them go through some basic startup sequences.
Step 3: Set the DMX Address
Each LED moving head light needs to have a unique DMX address. The DMX address is like a phone number for your light. It tells the console which light it's controlling. You can usually set the DMX address on the back or the side of the light. There are different ways to set the address, depending on the model of your light.
Some lights have a digital display and buttons that allow you to enter the address directly. Others may use dip switches. If you're using dip switches, you'll need to refer to the user manual of your light to find out how to set the correct address.
Start with the first light in your setup. Set its DMX address to the lowest number. For example, if you have 10 lights, you can start with address 1 for the first light, 2 for the second light, and so on. Make sure each light has a different address to avoid conflicts.
Step 4: Connect the DMX Cables
Now it's time to connect the DMX cables. The DMX cables usually have three - pin or five - pin connectors. The console will have one or more DMX output ports, and each light will have a DMX input port.
Take one end of the DMX cable and plug it into the DMX output port of the console. Then, take the other end of the cable and plug it into the DMX input port of the first light in your setup.
If you have multiple lights, you'll need to daisy - chain the DMX cables. That means you'll take another DMX cable and plug one end into the DMX output port of the first light and the other end into the DMX input port of the second light. Repeat this process for all your lights until they're all connected in a chain.
Make sure the cables are plugged in securely. Loose connections can cause signal problems and make your lights behave erratically.
Step 5: Configure the Console
Once all your lights are connected to the console via DMX cables, you need to configure the console. Turn on the console and let it boot up.
Most consoles have a menu system that allows you to set up your lighting fixtures. Look for the section where you can add or configure fixtures. You'll need to tell the console what type of lights you're using and their DMX addresses.
Select the option to add a new fixture. Then, choose the manufacturer and model of your LED moving head light from the list. If your light isn't on the list, you may need to select a generic fixture type that has similar features.
Enter the DMX address of each light. The console will then map the controls for each light based on its DMX address and the fixture type you selected.
Step 6: Test Your Setup
After you've configured the console, it's time to test your setup. Use the console to send some basic commands to your lights. For example, you can try changing the color of the lights, adjusting the intensity, or making them move.
If everything is working correctly, your lights should respond to the commands from the console. If you notice any problems, like a light not responding or behaving unexpectedly, check the following:
- DMX Address: Make sure each light has the correct DMX address.
- Cable Connections: Check that all the DMX cables are plugged in securely.
- Console Configuration: Double - check that you've configured the console correctly, including the fixture type and DMX addresses.
Troubleshooting Tips
Even if you follow all the steps correctly, you may still run into some issues. Here are some common problems and how to fix them:
- No Response from Lights: If your lights aren't responding to the console commands, first check the power supply. Make sure the lights are turned on and getting enough power. Then, check the DMX cable connections. You can try swapping out the cables to see if that solves the problem.
- Lights Flickering or Acting Erratically: This could be due to a weak or unstable DMX signal. Try using shorter DMX cables or adding a DMX signal booster to strengthen the signal. Also, make sure there are no electromagnetic interference sources near your cables or lights.
- Console Not Recognizing Lights: Check that you've entered the correct fixture type and DMX addresses in the console. You may also need to update the console's firmware to support your lights.
Conclusion
Connecting LED moving head lights to a lighting console may seem a bit daunting at first, but with the right equipment and a little patience, it's a straightforward process. Once you've got your setup working, you'll be able to create amazing lighting shows that will take your events to the next level.
If you're in the market for high - quality LED moving head lights, we've got you covered. Our LED Beam Spot Wash, LED Hybrid Moving Head Light, and 350w LED Moving Head Light 3 In1 With Cmy Function are designed to work seamlessly with a variety of lighting consoles.
If you have any questions about our products or need help with setting up your lighting system, don't hesitate to reach out. We're here to assist you with all your lighting needs. Whether you're a professional lighting designer or a hobbyist, we can provide you with the best solutions. Let's start a conversation and see how we can help you create the perfect lighting setup for your next event.
References
- Lighting Equipment User Manuals
- DMX Protocol Standards Documentation


